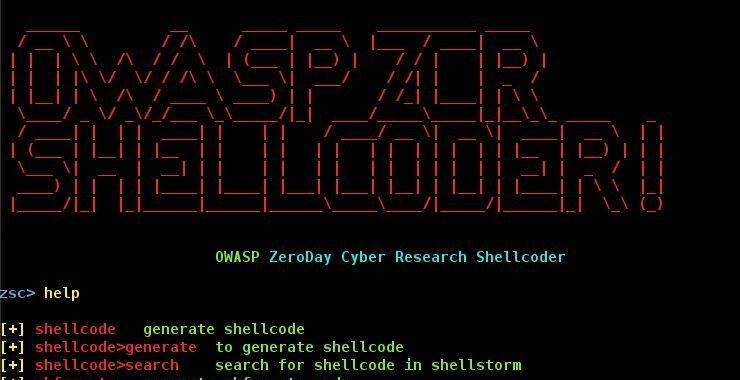
Among the tools available to create shellcode capable of going undetected by Anti-Virus (AV) software, OWASP-ZSC (Zero-day ShellCode) may be the most versatile. OWASP-ZSC is project of OWASP, continues under development and has some useful features not found in some of the other applications in this category. In this tutorial, I will attempt to demonstrate some of the most important features of OWASP-ZSC and how they can be used to create Zero-day shellcode that will evade AV software.
For more on Evading AV, check out;

Shellcode is basically instructions that executed when the code is injected into a running application such SMB and other vulnerable services and applications. Buffer overflows are most often used in these cases. When a stack or heap based buffer overflow is executed, the shellcode is then injected and often gives the attacker a way to control the target system through such things as a command shell (hence its name).
Whenever new shellcode becomes available, it is incumbent upon the Anti-Virus software developers (if they want to remain relevant in this industry) to develop a signature or other method to detect the malicious content. As hackers/pentesters, we need to constantly be changing our shellcode to evade the antivirus software and remain stealthy and effective. OWASP-ZSC is one more tool we can use to create, encode and obfuscate our shellcode to remain undetected by the Anti-Virus software on the target’s machine.
Let’s take a look at how we can use OWASP-ZSC to build, encode and obfuscate shellcode.
Step #1 Fire Up Kali
The first step, of course, is to fire up Kali or other attack operating system. OWASP-ZSC is developed to run on Linux, OSX or Windows, but I suggest you run it under Linux as some components don’t work properly under the other two OS’s.
Step #2 Download OWASP-ZSC
OWASP-ZSC is not built into Kali, nor is it in the Kali Repository, so we will need to download it from github.com.
kali > git clone https://github.com/zscproject/OWASP-ZSC

Once we have OWASP-ZSC downloaded to our Kali system, the next step is to install it.
Navigate to the directory of OWASP-ZSC.
kali > cd OWASP-ZSC
Next, we need to execute the installer the script
kali > ./installer.py
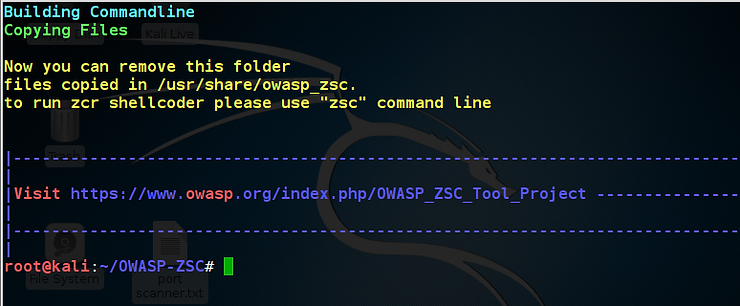
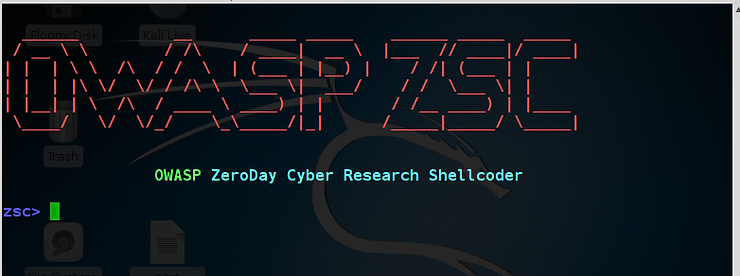
Once the installer has run, you should see a screen like that above. Note that to uninstall OWASP-ZSC, you simply run ./uninstaller script. Also, once OWASP-ZSC has been installed, you need only type zsc to start this script.
kali > zsc
Step #3 The OWASP-ZSC Help
Before we get started with OWASP-ZSC, let’s take a look at the help screen. That’s ALWAYS a good idea when using a new application.
zsc > help
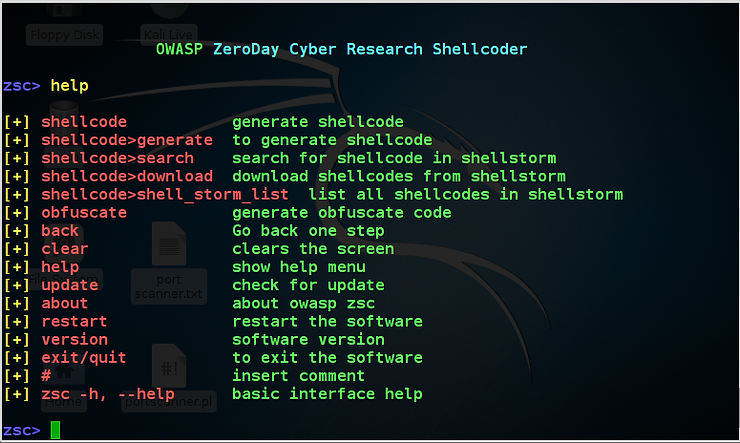
In the screenshot above, you can see that OWASP-ZSC displays all the commands in its help screen. The key commands are the first six, but also note the back, clear, help, exit commands that useful when using OWASP-ZSC.
Step #4 Generate Shellcode
Now, let’s generate some shellcode. As we can see from the help screen, we simply type “shellcode” and then “generate”.
zsc > shellcode
zsc > generate
OWASP-ZSC uses the TAB key to show options for any command, so now we use the TAB to show the shellcode options.
As you can see below, OWASP_ZSC has three OS shellcode options, linux_x86, osx_x86 and windows_x86. Since most of us are interested in Windows, let’s type;
zsc > windows_x86

Now that we have selected the type of target OS platform to build a shellcode for, we can hit TAB to get more options.

OWASP-ZSC now displays the shellcode options it has for windows_x86. Note that we are not limited to these shellcodes. OWASP-ZSC will work on just about any shellcode, but these shellcodes are built-in by default.
You can get a plethora of shellcodes to use at shell-storm.org among other places including exploit-db.com. OWASP-ZSC has an API connected to the www.shell-storm.org site that enables you to search and download directly from the hundreds of shellcode at that site
shell-storm.org

Let’s use the add_admin shellcode. This shellcode will–as the name implies– add another admin user on the target system.
zsc > add_admin

OWASP-ZSC will now prompt us for the username and password we want to use for this admin account. Of course, I entered my name, “OTW” and password “hackers-arise”.

In the next step, we need to determine whether we want to encode the shellcode. If you don’t want to encode, type “none”. Here, I chose to encode with random XOR (xor_random). The random encodes produce shellcode that is different each time making it more likely to be undetected by AV.

After I typed in my encoding type, OWASP-ZSC prompts me whether I want to output assembly code and whether I want to output my shellcode to the screen. I said “n” for the assembly and “y” to output the shellcode to my screen. Of course, neither is necessary.

OWASP-ZSC now prompts us whether we want to output to .c file. I entered “y”. It then prompts me for a file name. You can call your new shellcode any qualified file name, but I entered “mynewshellcode”.
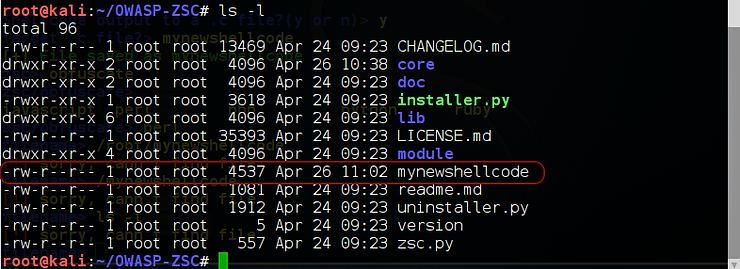
When I create my new shellcode, it saves it by default in the OWASP=ZSC directory. Let’s take a look. Note that “mynewshellcode” was saved at /root/OWASP-ZSC.
Step # 6 Obfuscate
The process of obfuscation is an attempt to conceal the real purpose of the code. In this way, the forensic investigator or incident handler is less likely to understand the purpose of our shellcode.
Next, we want to obfuscate that shellcode. Enter “obfuscate”;
zsc > obfuscate
Now, to see the choices, hit the TAB key. It will display your obfuscation choices. These include;
javascript
perl
php
python
ruby
I selected Perl. For more on Perl, see my series on Scripting for Hackers. This may not be the best choice for attacking Windows systems as the Perl interpreter is seldom on Windows systems, but I will use it nevertheless for demonstration purposes. On the other hand, it is unlikely that the AV has a signature for this shellcode in Perl, so that it will likely go undetected by Windows AV and be effective against those rare systems where the Perl interpreter is installed.
OWASP-ZSC now prompts you for the file name your want to obfuscate. Simply enter the full path to our new shellcode or any shellcode you have on your system. In my case, it is /root/OWASP-ZSC/mynewshellcode.

It then prompts you for the encoding you want to use and I selected simple_hex.
The final step is to test your new shellcode against AV software. If you know what software the target is using, simply test it against that one (check out my article on recon-ng to determine the AV the target is using). If not, you can test your new shellcode at VirusTotal to see how well it evades most commercial AV software.
