Welcome back, my rookie hackers!
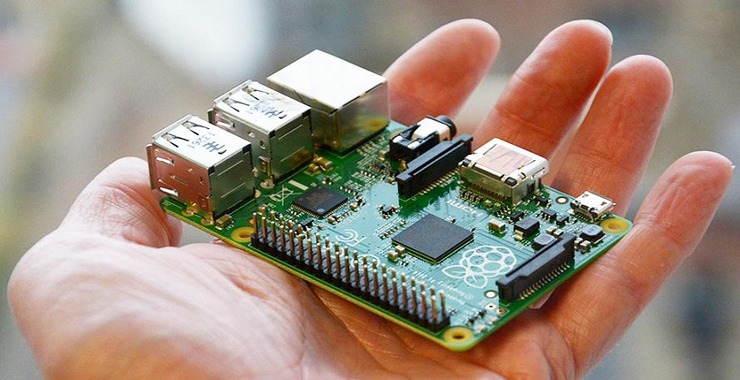
In this series, we are building a Raspberry Pi that we can use to spy. In part 1, we set the operating system, installed the camera and then established a SSH connection to Spy Pi. Here, we will configure and test the camera so that can then use to spy on the suspect.

Step #1 Configure the Camera.
This step can be done either being physically at the keyboard of the Spy Pi or remotely through the SSH connection we set up in part 1. Here, I will be demonstrating using the SSH connection as if the Spy Pi had already been placed in its spying position.
First, log in to your Spy Pi.
kali >ssh pi@192.168.102

Remember, the default password is “raspberry”.
Next, start the configuration tool by simply typing;
sudo raspi-config

This should start the configuration menu like above.
As you can see, if we scroll down to the #6 choice, we arrive at the Enable Camera selection. Hit Enter. Now scroll to the Finish button and hit Enter.

This will bring up a screen like below asking if you want to reboot. Hit Enter and your system will reboot.

Once your Spy Pi has rebooted, the camera should now be enabled. Log back into your Spy Pi from SSH.
Before we begin using the camera, let’s take a look at the help screen of raspistill, the application we will be using to take our still images from our Spy Pi.
raspberrypi:raspistill

As you can see, this is fairly sophisticated piece of software with many options.
If we simply want to capture with the default options and use the verbose output, the command is simply;
raspberrypi: raspistill -v -o first.jpg
This will take a still image, provide us with a lot of information and place the image in a file called first.jpg.

As we can see, the camera app went through its configuration and displayed a significant amount information, delayed 5 seconds, took the still and then shutdown.
We can now check to see whether the first.jpg is on the Spy Pi by doing a long listing.
raspberrypi:ls -l

In the screenshot above, you can see our first picture is in the /home/pi directory.
We can now view the image from our image viewer on the Spy Pi or download it via scp to our remote system and view it there.
In my next installment, we configure our Spy Pi to take images at a regular interval (say, once an hour) and send them to us and even taken video, so keep coming back my rookie hackers!


