We have our first community post on Hackers-Arise. G was gracious and generous enough to offer this short tutorial on installing Kali 2.0 on VirtualBox. If you have an article you would like to submit to Hackers-Arise, send it to admin-hackers-arise@protonmail.com
OTW

Hey guys! I’m G.
Recently, I finally decided to check out Kali 2.0 (even though it has been out for a while now) and I wanted to install it in VB (VirtualBox). So, naturally, I began to spend countless hours of googling online and checking out various forums to no avail. This is when I figured I should make my own guide on how to install Kali 2.0 in Virtual Box. This guide is possibly one of the most thorough ones out there!
NOTE: You guys DO know what Kali is, right? (Link: www.docs.kali.org/introduction/what-is-kali-linux)
NOTE: This installation guide is currently for windows OS’s only. BUT make sure to check back soon as we will strive to make an installation guide for Linux users ASAP (which means as soon as possible, not immediately!!!)
Requirements:
Virtual Box Installed (Link: www.virtualbox.org/wiki/downloads)
Latest Image of Kali Linux for Virtual Box(non-torrent) Downloaded (Link: www.offensive-security.com/kali-linux-vmware-virtualbox-image-download/)
7-Zip File Manager Installed (Link: www.7-zip.org)
A PC running Windows (Tested with only Windows 10, but other window OS’s should work just fine)
And the ability to download stuff + use the internet (NOTE: if you seriously don’t know how, this is probably a bad idea for you)
Popcorn of any flavour (optional)
Open up 7-Zip File Manager and point it to the location of your Kali Linux OS image.
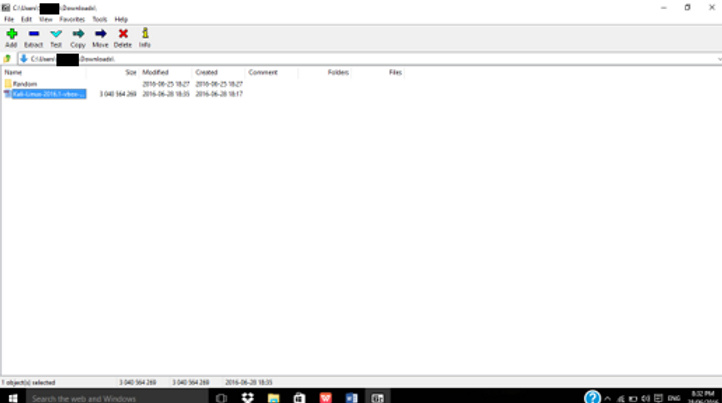
As you can see, I’ve pointed it to my \downloads folder (your Kali image is most likely there too).
2. Select the image and press extract from the toolbar.
Pressing the extract button will open up an additional window (as seen in the picture). You do not need to adjust anything, simply press “OK”.
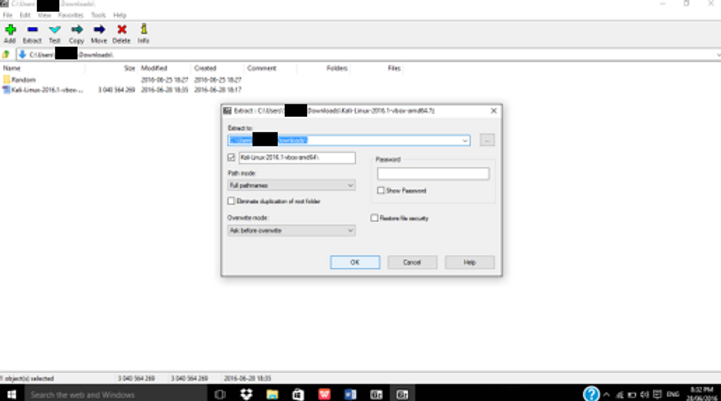

This part could take 3 – 6 mins (depending on various factors) so sit back, relax, grab some popcorn and start munchin’!
3. Now, extraction is complete, find the extracted file (probably in \downloads) and open it.
Inside the file, there should be an application labelled “Kali-Linux-2016.1-vbox-amd64.ova” (or something close to that anyway!) with an orange cube icon.

Double click onto the application. It should open a new window in Virtual Box with a prompt asking whether you want to import virtual machine settings.
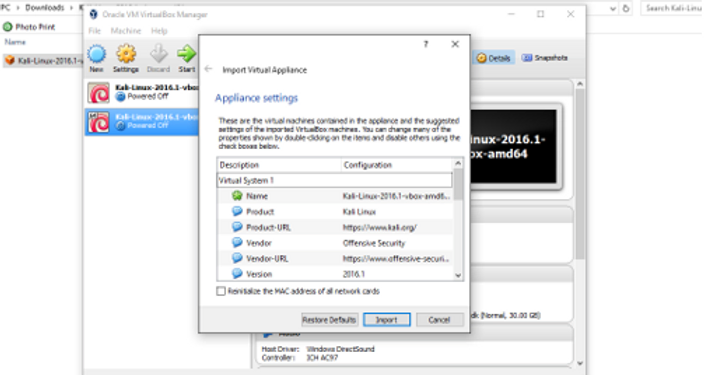
Simply press import and wait for Virtual Box to set up your new Kali Linux system. (If you still have some popcorn spare from Step 2, eat it now!)
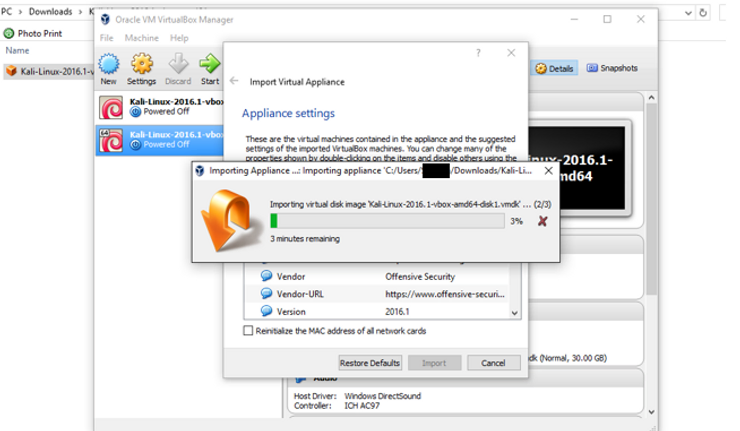
4. Celebrate!! You’ve just installed Kali Linux on Virtual Box!
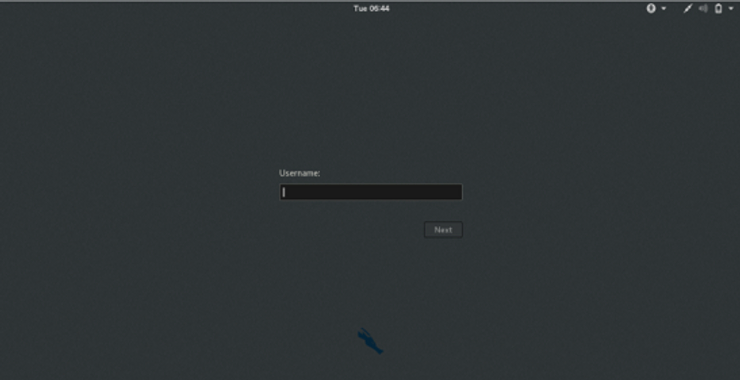
To access your new OS,
Open Virtual Box
Select your machine
And press start in the toolbar (remember, the default user is root and the password is toor)
Have fun hacking with your new Kali OS. Also, make sure to check out OTW’s various articles on stuff you COULD do with Kali.
Anyways, till next time.
-G.
P.S. This is a tried and tested technique to download Kali and you are unlikely to encounter a bug, BUT if you do get an error:
Ensure you fit the ALL of the necessary requirements
Ensure you have the necessary software
Retry all steps
Contact me in the comments section or via direct mail: g740@protonmail.com


